Ceiling fan outfit transition: five looks
Prepare a fan-wipe video and five outfit references, try motion transfer, and fix awkward cuts. Includes a copyable prompt and paid credit examples.
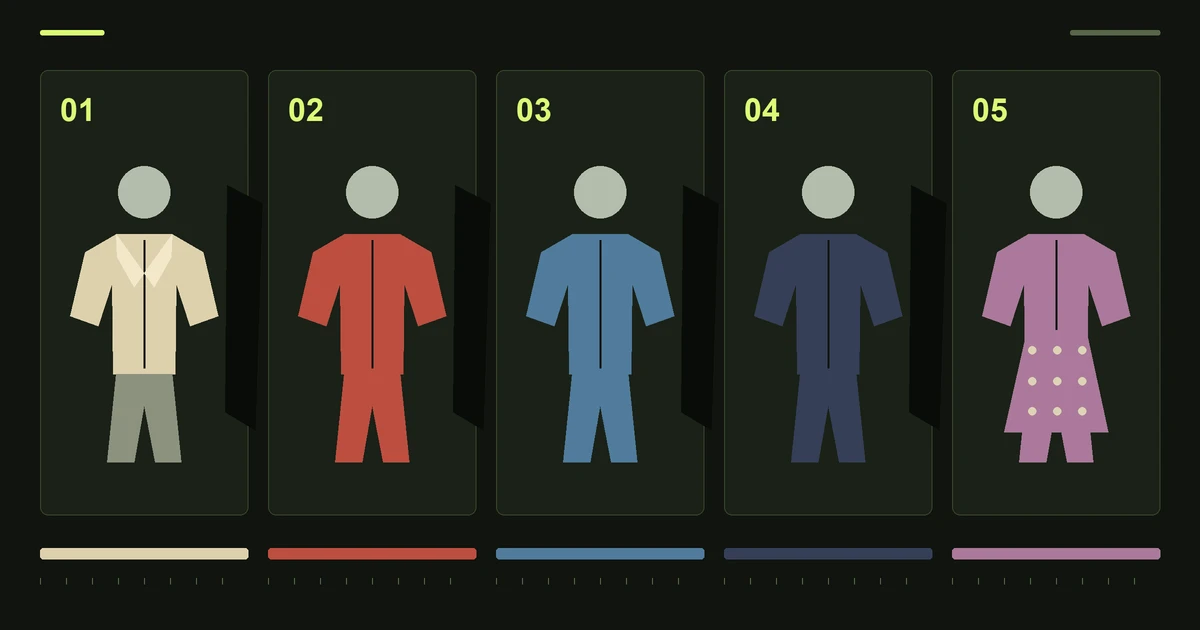
Storyboard illustration, not generated footage. The numbered looks show the intended sequence.
A ceiling fan outfit transition uses a blade passing across the frame to hide a change of clothes. In the overhead version, a person lies beneath the camera; each wipe reveals another look while the pose and framing stay similar. Five outfits need four clear changes, with enough time between them to see the clothes.
You can explore this effect in Genjutsu Studio with a source video and outfit references using Motion Transfer. Prepare the images in your own photo or image editor first. Generation uses purchased credits, and exact outfit order or frame-perfect changes are not guaranteed. For a cut that must land on a particular frame, finish the timing in a video editor.
Open Motion TransferChoose a clip with room for each outfit
Start with one video you own or have permission to edit. Use 4–30 seconds in MP4, MOV or WebM, up to 80 MB. A portrait 9:16 composition is a useful choice for a vertical post; keep the person and the full outfit inside the frame throughout the shot.
Scrub through the video before uploading. Look for moments when a blade or foreground shape covers most of the outfit. A thin blur across the face leaves the rest of the clothes visible and makes a sudden change harder to hide. Select four suitable wipes for five looks. You do not need to change clothes on every blade pass if the fan is moving too quickly.
For your own footage, keep the camera stationary on a secure support, away from moving blades. You can also film the overhead pose without a running fan and add a foreground wipe in a video editor. An existing licensed clip with a suitable wipe works too. Keep the light, camera angle and person's position steady so the outfit change carries the shot.
Prepare five references of the same person
Make one image per outfit. Use the same face, hair, proportions and similar framing across all five. A full-body image helps when trousers, shoes or a long coat matter. Keep hands away from important clothing details and choose lighting that makes each garment easy to read.
Give the looks clear visual differences: a pale suit, a red jacket, a denim outfit, a dark coat and a patterned dress, for example. Five nearly identical dark tops may change successfully without producing much of a reveal. Avoid relying on small logos or exact lettering, which can distort during generation.
Name the files 01 through 05, then check their order in the upload list. The prompt refers to the image order, not just the filenames. This workflow accepts up to eight references; five fits within that limit. Each image must be JPG, PNG or WebP and no larger than 10 MB. Use an original character or someone whose likeness you have permission to use.
Try the sequence in Motion Transfer
Open Motion Transfer, upload the video, then add the references in the intended order. Add instructions that identify when each look should appear and what you want to keep stable. Replace the clothing descriptions in this example with your own.
Use the source video as the motion and camera guide. Keep the same person, face, hairstyle, pose, lighting and background throughout. Begin with the pale suit in image 1. After the first chosen blade wipe, reveal the red jacket in image 2; after the next chosen wipe, the denim outfit in image 3; then the dark coat in image 4; finish with the patterned dress in image 5. Hide each clothing change behind the foreground wipe. Hold each outfit clearly between transitions. Avoid blending two outfits together.
This prompt is a starting instruction, not a timing control. The model can blend outfits, skip a look or change the person and background. Genjutsu Studio is an independent service using Higgsfield Genjutsu; it does not include the official site's ceiling-fan template picker. You supply the source clip here. Accounts and credits are separate.
For the first attempt, trim a copy of your video to a 4-second section containing one useful wipe. Upload just two outfit references and shorten the prompt to describe that one change. This checks whether the source composition and references work together before you spend credits on all five looks.
Budget for the test and the final attempt
The estimate follows source duration and output resolution. Fractional source seconds round up: a 15.1-second upload is billed as 16 seconds. The following examples assume exactly 4 or 15 seconds and one generation each.
| Resolution | 4-second test | 15-second clip |
|---|---|---|
| 480p | 1,600 | 6,000 |
| 720p | 3,200 | 12,000 |
| 1080p | 8,000 | 30,000 |
A short test and a longer render are separate generations. Raising the resolution starts a new generation; it does not upgrade the earlier file or guarantee the same result. Check the displayed cost before each attempt. A confirmed failed generation returns credits. A completed video whose creative result you dislike still uses credits.
Compare packs and subscriptions by how many video seconds they cover
.
Review the reveal, then fix the timing
Watch once at normal speed, then inspect each wipe frame by frame. Check the first frame after the blade clears: is the next outfit already readable? Does the face stay recognisable? Look for bent hands, changing body proportions, mixed garment textures and a background that jumps between looks.
If the clothes blend gradually, try fewer references and a source moment with stronger coverage. If the face changes, simplify the references and remove conflicting hair or facial details. Higher resolution alone will not repair the sequence.
When you need exact timing, generate separate versions of the same source with one outfit reference at a time. In your video editor, align those versions to the source timeline, split at the chosen wipe moments and alternate the outfits. Place each cut where the foreground covers the change most fully. Review alignment rather than assuming every generated version has identical movement. This assembly happens in your editor, outside Genjutsu Studio, and each generated version has its own credit cost.
Download the finished MP4 from your completed task. Add music and final cuts in your editor, then check the export on a phone before posting. If your next step is a first attempt, prepare one short clip and two consistent references first.
Open Motion TransferRelated help and source
Read the Motion Transfer guide for upload steps and output checks
.
Higgsfield's Genjutsu overview describes using source movement and reference images for wardrobe changes. The preparation and editing suggestions above are a proposed workflow, not a record of a tested five-outfit result from this service.